
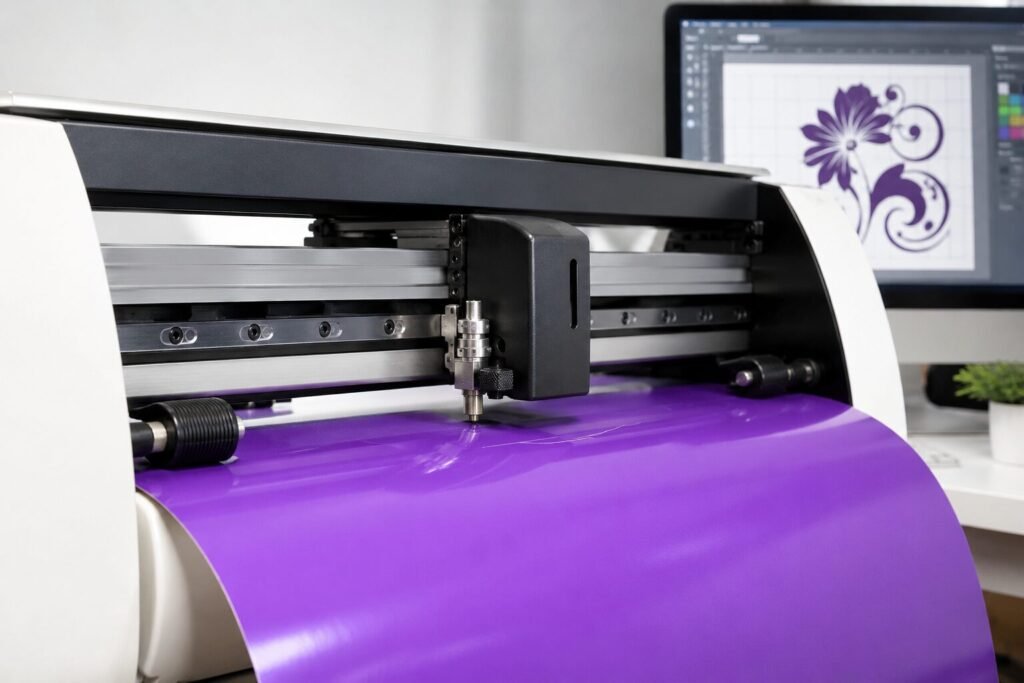
A vinyl cutting machine only gives perfect results when you set it up the right way. Many beginners face issues like uneven cuts, torn edges, or designs that do not peel correctly. In most cases, the problem is not the machine itself. It is the setup and calibration.
In this guide, we will walk you through every step to set up and calibrate your cutting plotter properly. By the end, you will know how to get clean, accurate cuts every single time.
Why Proper Setup Matters for Your Vinyl Cutting Machine
A vinyl cutting machine works on precision. Even a small mistake in setup can lead to wasted material and poor-quality output. Proper calibration helps the blade cut at the right depth and pressure for every material type.
Common Problems Without Proper Setup
Skipping setup steps often leads to these issues:
• Uneven or jagged cut edges
• Vinyl tearing instead of cutting cleanly
• Designs that do not weed properly
• Wasted rolls of material due to repeated test cuts
Step 1: Place Your Vinyl Cutter on a Stable Surface
Before you turn on your cutting plotter, place it on a flat and steady table. A wobbly surface can cause small shifts during cutting, which affects accuracy. Make sure there is enough space behind the machine for the vinyl roll to feed smoothly.
Connect Your Machine to the Computer
Connect your vinyl cutting machine to your computer using the USB cable that comes with it. Install the cutting software provided by the manufacturer. Redsail machines come with simple software that is easy to install and use, even for beginners.
Step 2: Load the Vinyl Correctly
Loading the material correctly is one of the most important steps for any vinyl cutting machine. If the vinyl sits crooked, your cuts will come out crooked too.
Tips for Loading Vinyl the Right Way
• Align the edge of the vinyl with the marked guideline
• Lower the rollers gently onto the material
• Check that both side rollers grip the vinyl evenly
• Feed a few inches of vinyl forward before starting the cut
Step 3: Calibrate Blade Depth and Pressure
Blade calibration is where most cutting plotters need fine-tuning. Every material, from thin vinyl to thick flex, needs a different blade depth and pressure setting.
How to Test Your Blade Settings
Run a small test cut on a scrap piece of vinyl before cutting your full design. The blade should cut through the vinyl layer but not the backing paper. Peel a corner of the test shape to check if it lifts cleanly.
Signs Your Blade Depth Needs Adjustment
• If the vinyl does not separate, increase the blade depth slightly
• If the backing paper gets cut too, reduce the depth
• If edges look rough, lower the cutting speed
Step 4: Adjust Speed and Force in the Software
Most cutting software lets you control speed and force separately from the blade depth. Slower speeds give cleaner results for detailed designs, while higher speeds work well for simple shapes.
Recommended Settings for Common Materials
• Standard vinyl: medium speed, low to medium force
• Flex and heat transfer film: slower speed, slightly higher force
• Glitter or textured vinyl: slow speed, higher blade depth
• Reflective vinyl: medium speed, medium to high force
Keep Your Machine Calibrated Over Time
Recheck your blade and pressure settings whenever you switch to a new material. Clean the rollers and blade holder regularly to avoid buildup of vinyl residue. A well-maintained vinyl cutter holds its calibration much longer.
Conclusion
Setting up and calibrating your vinyl cutting machine the right way saves you time, material, and frustration. Once you get the blade depth, pressure, and speed settings correct, your machine will deliver clean and precise cuts every time.
If you are still facing issues with your vinyl cutting machine or want to upgrade to a more reliable model, Redsail is here to help. Contact our team today for expert guidance, genuine parts, and the best cutting machines for your business.